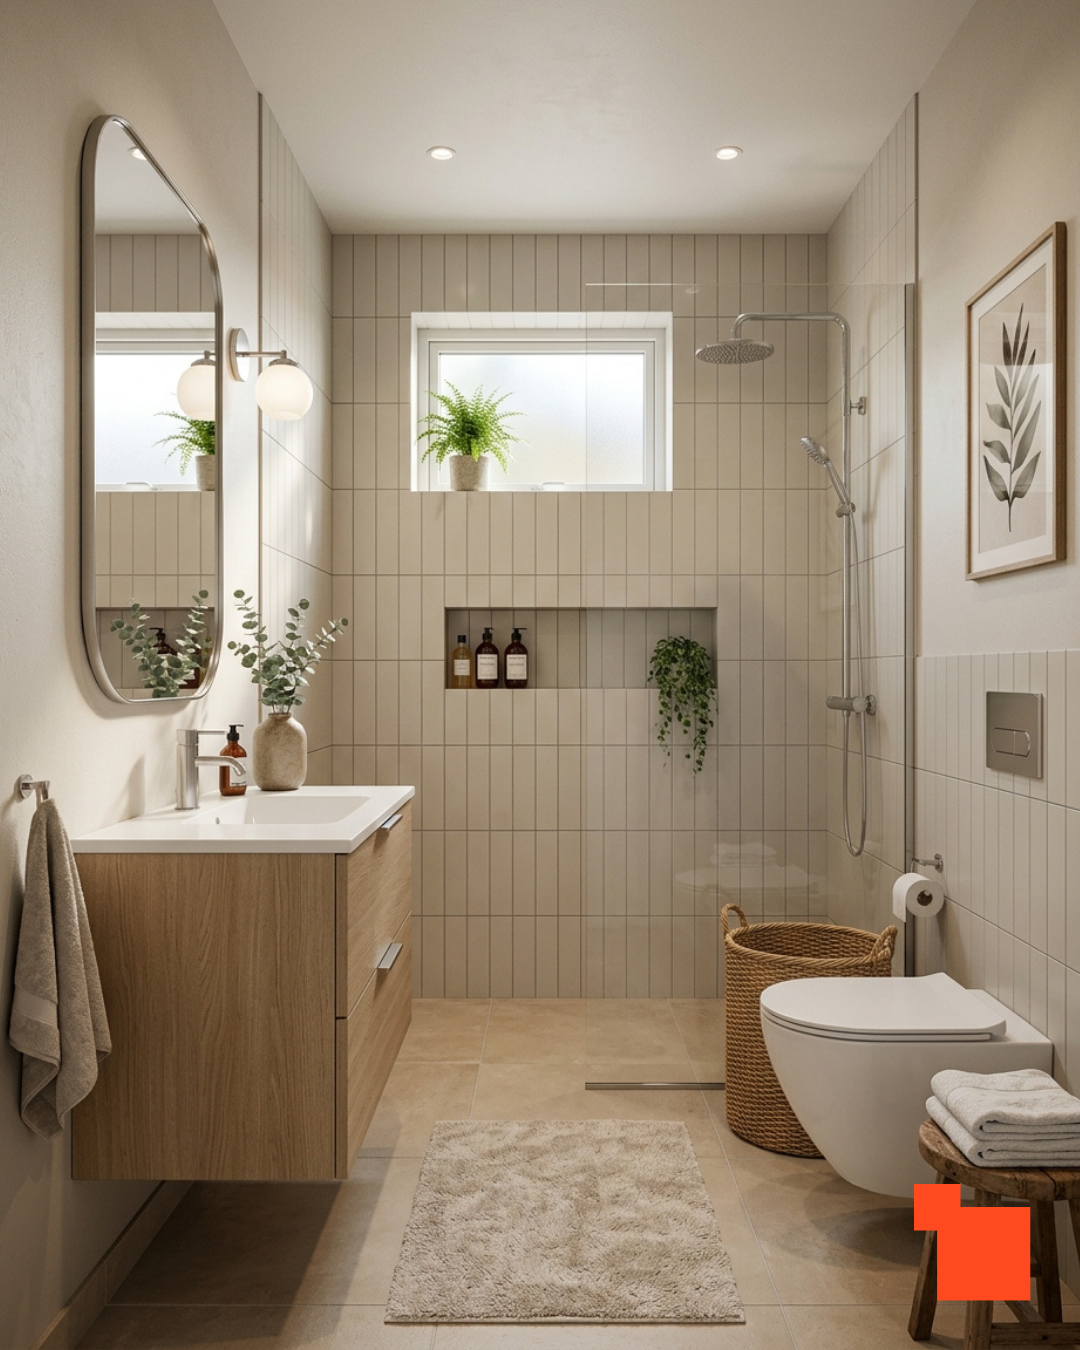
I've converted enough garages to know it's one of the best-value projects a homeowner can take on.
The space is already built, already attached, and usually just holding clutter and a car that lives in the driveway anyway.
Turning it into a bedroom, a family room, a rental suite, or a home office gives you real, usable square footage, often for a fraction of what a ground-up addition would cost, and without the disruption of extending the house.
But a garage conversion done right is a real construction project, not a weekend spruce-up.
There's a proper order to it: you plan and permit first, deal with the structure and moisture, then work your way from framing and insulation through to the finishes that make it feel like home.
Skip a step or take them out of order, and you'll pay for it later. Follow them, and you'll end up with comfortable, legal, valuable living space you'll actually want to use. Here are the ten steps, start to finish.
Before you buy a single sheet of drywall, start at city hall, or at least on your local building department's website.
Converting a garage into living space is almost always a permitted project, and skipping this step is the most expensive mistake you can make.
Before converting a garage, check your local zoning rules and permit requirements.

An unpermitted conversion can stall a future sale, void your insurance, and force you to tear out finished work if an inspector or buyer's appraiser catches it.
There are two things to confirm up front. First, zoning: some areas restrict converting a garage, especially if it means losing a required off-street parking space, so check whether your lot allows it and whether you'd need to add parking elsewhere.
Second, permits: a conversion typically triggers building, electrical, plumbing, and sometimes mechanical permits, since you're adding heating, wiring, and possibly a bathroom.
Your building department can tell you exactly what's required and what has to be inspected along the way.
This is also the moment to find out what "living space" legally requires in your area, things like minimum ceiling height, window and egress (emergency exit) requirements, insulation values, and ventilation.
Those rules will shape every decision that follows, so it's far better to know them now than to discover them at inspection.
If the process feels overwhelming, a local architect, designer, or design-build contractor can handle the permit application for you and make sure the plans meet code from the start.
With your permits underway, take a hard, honest look at what you're working with.
A garage is built to shelter a car, not to be lived in, so before your plan finishes you need to understand the bones of the space, and whether they're up to the job.
This assessment shapes your budget more than almost anything else, because surprises found now are cheap, while surprises found after you've drywalled are not.
Garage conversions start with the existing structure, check for moisture, damage, and height issues before building.

Start with the slab. Garage floors are usually poured to slope toward the door for drainage, and they often sit lower than the rest of the house.
You'll need to decide how to level that slope and bridge the height difference, typically by building a raised subfloor, which also gives you a place to run insulation and wiring.
While you're down there, check the slab for cracks, moisture, or signs of water intrusion, since a damp floor has to be sealed before anything goes on top of it.
Then work your way up and out. Check the condition of the walls, roof, and framing for any rot, pest damage, or sagging that needs fixing first.
Note where the electrical panel, existing wiring, and any plumbing lines sit, since their locations affect how easily you can add outlets, heating, or a bathroom.
And look critically at the ceiling height: many garages are fine, but some sit right at or below the minimum required for habitable rooms, which is exactly the kind of thing you want to catch now.
If anything here looks structural or uncertain, this is the point to bring in a contractor or structural engineer for a proper opinion.
This is the unglamorous step that quietly makes or breaks the whole project. Garages are built to tolerate moisture, water gets tracked in, condensation forms, and the concrete slab wicks dampness up from the ground, but living space cannot.
If you trap moisture inside finished walls and floors, you're inviting mold, rot, and ruined materials down the line.
Getting ahead of water now protects everything you build on top of it. Start with the slab and the exterior.
Waterproof the garage before finishing it, trapped moisture can lead to mold, rot, and costly damage.

Seal the concrete floor with a proper moisture barrier or waterproofing membrane before any subfloor goes down.
And address any drainage issues outside that send water toward the garage, regrading soil, adding or clearing gutters, and making sure the ground slopes away from the walls.
If your earlier assessment turned up any active leaks or damp patches, they get fixed here, not papered over.
It's worth being thorough, because you won't be able to reach these surfaces again once the room is finished.
Then think about the openings and the air.
The old garage door opening is usually the biggest weak point: when you frame a new wall (Step 4), it needs to be properly sealed and flashed against water and drafts.
Pay attention to ventilation too, a sealed-up former garage can trap humidity, so plan for the airflow a living space needs, whether through operable windows, exhaust fans, or the HVAC you'll add later.
Do this step well and the rest of the conversion sits on a dry, stable foundation. Skimp on it, and no amount of nice finishes will save you.
Now the space starts to actually look like a room. The single most defining physical change in most garage conversions is closing up that big garage door opening, and it's what transforms the structure from "garage with stuff in it" to "part of the house."
How you handle this opening sets the character of the whole room, so it's worth planning carefully rather than just walling it up.
Framing in the opening means building a new stud wall where the door used to be, insulated and sealed to match the rest of the exterior.
Closing the garage door opening transforms the space, use it to add natural light, egress, and a seamless connection to the house.

But you rarely want to fill it solid, because that opening is your best opportunity for natural light.
Garages are notoriously dark, so this is the moment to design in windows, and plenty of them.
If your permits flagged egress requirements (a legally sized window or door for emergency exit, which most habitable rooms and all bedrooms need), this new wall is usually where that gets satisfied.
Larger glazing, French doors, or sliding doors here can flood the room with light and connect it to the yard.
While the walls are open, this is also the time to add or relocate any other windows the room needs for light and ventilation, and to make sure the new framing ties properly into the existing structure.
Think about the exterior, too: matching the new wall's siding, trim, and roofline to the rest of the house is what stops the finished conversion from looking like an obvious add-on.
Get the framing and openings right, and the room will feel like it was always meant to be there, inside and out.
Here's where the garage truly becomes livable. A garage is typically uninsulated, or barely so, because it never needed to hold a comfortable temperature.
Living space does, and insulation is what makes the difference between a room you can use year-round and one that's freezing in winter, baking in summer, and expensive to heat or cool.
It's hidden work you'll never see once the walls close up, but you'll feel it every single day.
Insulation goes into all six surfaces of the room, and each has its own considerations.
Insulate the walls, ceiling, and floor to make the converted garage comfortable and energy-efficient year-round.

The walls get insulation between the studs, including that newly framed wall where the garage door used to be. The ceiling or roof space needs it too, since a huge amount of heat is lost or gained up top.
And the floor matters more than people expect: that raised subfloor you built over the slab (Step 2) is the perfect place to insulate against the cold concrete below, which otherwise acts like a giant heat sink.
Your building department will usually specify minimum insulation values for each area, another reason those early permit conversations pay off.
Don't overlook the extras that make insulation actually work.
A vapor barrier, installed on the correct side of the insulation for your climate, keeps moisture from condensing inside the walls, tying back to all that water management from Step 3.
Sealing air gaps around windows, outlets, and the base of walls stops drafts that undermine even good insulation.
And if noise is a concern (say the room backs onto a street or shares a wall with the house), this is your chance to add acoustic insulation while everything's open.
Do this step properly and the room will be quiet, comfortable, and cheap to run for its whole life.
With the walls still open, it's time to bring in the systems that make a room function, and this is the stage where a converted garage catches up to the rest of the house.
A garage usually has minimal wiring: a couple of outlets, an opener, maybe a single light.
Living space needs far more, so most conversions involve real electrical work, and often heating and plumbing too.
Doing it now, while the framing is exposed, is vastly easier and cheaper than retrofitting later.
Install electrical, HVAC, and plumbing systems before closing the walls, it's easier, cheaper, and required for code compliance.

Start with electrical. Plan where you'll want outlets, light switches, and fixtures based on how the room will actually be used, a home office needs outlets at desk height and good task lighting, a bedroom needs bedside power, a living room needs flexibility.
Your electrician will confirm whether the existing panel can handle the added load or needs upgrading, and all of this has to meet code and pass inspection, which is exactly why it's on a permit.
Don't under-plan here; adding an outlet after the drywall's up is a genuine hassle.
Then handle climate and, if relevant, plumbing.
The room needs a heating and cooling plan, whether that's extending the home's existing HVAC, adding a ductless mini-split (a popular, efficient choice for conversions), or another system suited to your climate.
If your conversion includes a bathroom or kitchenette, this is when the water supply and drain lines go in, which is more involved and may require connecting to existing plumbing, so it's worth confirming feasibility early.
Whatever systems you add, get them inspected and signed off before you close the walls, because everything from here forward depends on this being done right and to code.
This is the step where all the hidden work disappears and the space finally reads as a proper room.
Once your insulation, wiring, and any plumbing have passed inspection, you can close everything up with drywall.
It's a genuinely satisfying stage, because the moment the walls and ceiling go up, the former garage stops looking like a construction site and starts looking like somewhere you'd live.
But resist the urge to rush, since the quality of this work sets the standard for every finish that follows.
Drywall closes up the hidden work, but careful finishing is what makes the converted garage look like a real room.

Hanging drywall is the straightforward part; the finishing is what takes skill and patience.
After the boards are screwed to the studs and ceiling joists, the seams are taped, then coated with several passes of joint compound, each sanded smooth before the next.
Getting walls and ceilings truly flat and seamless is an art, and it's the difference between a room that looks builder-finished and one that looks like an obvious DIY.
If you're doing this yourself, take your time with the sanding; if you're hiring out, a good drywall finisher is worth every penny.
This is also the point to think about a few finishing details before painting. Make sure any access points you'll need later, for plumbing shutoffs or electrical junctions, stay reachable.
Consider whether you want any wall reinforcement now (blocking behind the drywall for mounting a TV, shelving, or grab bars is far easier to add before the boards go up, so ideally you planned it in Step 6).
Prime the finished walls, and you've got a clean, blank canvas, and a space that, for the first time, genuinely feels like a room in your home rather than a converted garage.
With the walls finished and primed, attention turns to the floor, and this is a step that does a huge amount of work in making the space feel like living space rather than a garage.
Even a beautifully drywalled, freshly painted room will still feel like a garage if you're standing on bare, sloped concrete.
The right flooring, laid over the level, insulated subfloor you built back in Step 2, is what finally erases the room's origins underfoot.
Your flooring choice should reflect how the room will be used and the conditions it faces.
The right flooring over a level, insulated subfloor is what finally makes the converted garage feel like a real room.

Because you're building over a slab, moisture resistance is worth keeping in mind, luxury vinyl plank, engineered wood, tile, and laminate are all popular, durable choices for conversions, and many handle the below-grade, over-concrete situation well.
Carpet adds warmth and quiet for a bedroom or family room but is less forgiving of any residual moisture, so it relies on that earlier waterproofing and subfloor work being done properly.
Comfort underfoot matters more here than in most rooms, precisely because you're compensating for a cold concrete base.
The reason flooring comes this late in the sequence is deliberate: doing it after the messy drywall and painting work protects your new surface from damage, dust, and spills.
Make sure the subfloor is clean, level, and dry before you start, any unevenness or moisture will telegraph through the finished floor and cause problems later.
Lay it well, and the transformation is nearly complete; the moment you walk across a warm, level, finished floor where a car used to park, the space truly becomes a room.
Now comes the rewarding part, the details that turn a finished shell into a warm, inviting room with real character.
The heavy construction is behind you, and this step is all about the layers that make a space feel considered and complete.
It's tempting to treat these as afterthoughts, but they're exactly what people notice, and what separates a conversion that feels like a proper room from one that still feels a little unfinished.
Lighting, paint, trim, and storage are the finishing details that make a converted garage feel like a complete room.

Lighting deserves the most thought, because garages are dark by nature and good lighting does more than almost anything to make a converted space feel like home.
Plan it in layers: ambient light to fill the room (recessed downlights or a central fixture), task light where you'll work or read, and a little accent or warmth (a lamp, a pendant, under-shelf lighting) to give the room atmosphere.
Pair that with a well-chosen paint color, lighter tones to keep a smaller room feeling open, or a moody accent wall if you want cozy and focused, and the whole mood of the space is set.
Then it's the trim and built-in details that add polish. Baseboards, window and door casings, and consistent hardware make the room feel finished and tie it visually to the rest of the house, so it never reads as an add-on.
This is also when any built-in storage, shelving, or cabinetry goes in, worked into the walls to keep the floor clear and the room feeling spacious.
Add window treatments for light control and privacy, and suddenly the former garage is a genuinely handsome room.
These touches are where your personal style finally comes through, so enjoy them.
You're at the finish line, but there are two distinct things left to do here, and it's worth not blurring them: making the space legal, and making it yours.
Skipping the first to rush to the second is a mistake, because an unsigned-off conversion isn't truly finished no matter how good it looks. Handle the paperwork, then enjoy the payoff. First, the official part.
A garage conversion isn't finished until it passes final inspection and is officially approved as living space.
Before you consider the project done, you'll need your final building inspection, the sign-off that confirms all the permitted work, electrical, structural, insulation, plumbing, meets code and the space is legally habitable.
This is why every earlier step stayed on the right side of the permit process: it all comes together here.
Getting that final approval is what protects your investment, keeps your insurance valid, and lets you count the new square footage as legitimate living space when you eventually sell.
Keep the paperwork; a documented, permitted conversion is a genuine asset, while an undocumented one is a liability.
Then, the fun part, brings the room to life. Furnish it for how you'll actually use it, whether that's a bedroom, a family room, a rental suite, or a home office, and pay attention to scale so the pieces fit the space comfortably.
Layer in rugs, art, plants, and the personal touches that make a room feel lived-in and warm.
Take a moment to appreciate what you've done: you've turned one of the most underused spaces in the house into functional, comfortable, valuable living space, without the cost or disruption of building an addition.
That's a genuinely smart win, and now it's yours to enjoy.
Converting a garage is a bigger job than it first appears, but as these ten steps show, it's entirely manageable when you take it in the right order.
The pattern is always the same: get the planning and permits sorted, protect the space from moisture, build it up properly from the structure out, and save the finishes for last.
The unglamorous early steps, permits, moisture-proofing, insulation, are the ones that determine whether the finished room is a comfortable, lasting success or a source of problems down the line.
So if you've got a garage full of boxes and a car that lives in the driveway, you may be sitting on the easiest square footage you'll ever add to your home.
Do it by the book, lean on professionals where the work calls for it, and don't cut corners on the parts you can't see.
Get it right, and you'll gain a warm, legal, valuable room, and wonder why you didn't do it sooner.